God! I am back from my Bangkok trip and IT WAS AMAZING. This was my first international trip and it felt amazing traveling solo to another country without any help, any collaboration and all by my self. Since last year, I was trying to convince my friends (who seemed to love travelling) to travel with me to any place outside the country, as I didn’t want to travel solo (because obviously I was scared) and I had no clue how things would go if I travel abroad solo. But after many failed plans, I decided to not to ask anyone & travel all by myself. This Bangkok Guide is all about how I planned, what things I packed and what I experienced in this trip. I hope you get to take lots of tips from this Bangkok Guide!
Documents:
Check-list No. 1:
First thing I did was to book my tickets. I am a Yatra.com user and hence, I used the same for booking my flights. Here is the first set of important things to keep in your mind when once you are done with booking your tickets.
- Visa
- Accommodation
- Flight tickets
- Handy list of places to see
- Currency exchange (Forex cash/card)
- Travel insurance
Read: Guide To Manage Money When Travelling Abroad + Currency Exchange Tips
Check-list no. 2:
Once you are done with all of the above mentioned things, here is the list of documents you need to keep handy in order to avoid last minute hassle.
- Passport
- Visa documents
- Your Govt. ID proof
- Printout of accommodation booking confirmation papers
- Forex
- 2 Passport size photographs -size 5×7
- A pen
Bonus tip: Keep xerox of all of your documents in your luggage. bangkok guide
Read: Essentials Documents Required For Your International Trip
What to pack?
Checklist no. 3: bangkok guide
Here is the list of things I packed for my trip. I am a very light packer and avoid packing too much. I believe the lighter you luggage the better for you to manage. So, here list:
- Clothes (I didn’t pack lots, just 2-3 pairs that’s it!)
- No shoes, only flip-flops (Because I was wearing my sneakers)
- 1 Camera (Currently using Canon 1300D)
- 1 Phone (Currently using iPhone 7 plus)
- Chargers, earphone and power banks
- Documents
- Make up (Just 6 items)
- A hand towel
- A stole
- A Cap
For more details, read How I Packed Minimal For My First International Trip
First Time In Bangkok:
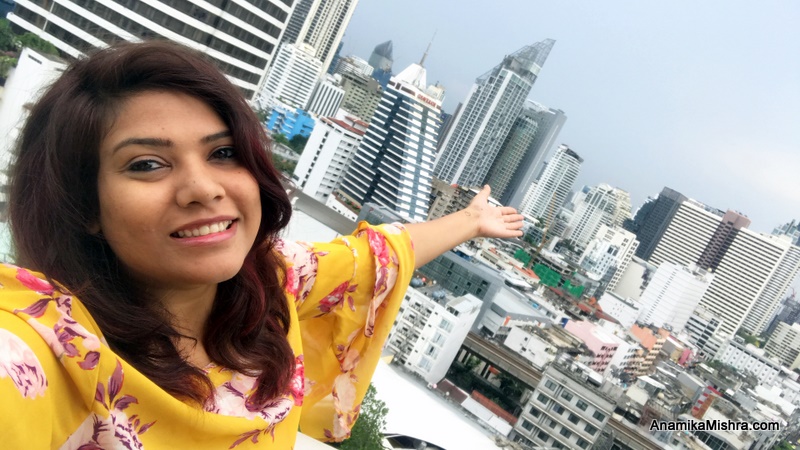
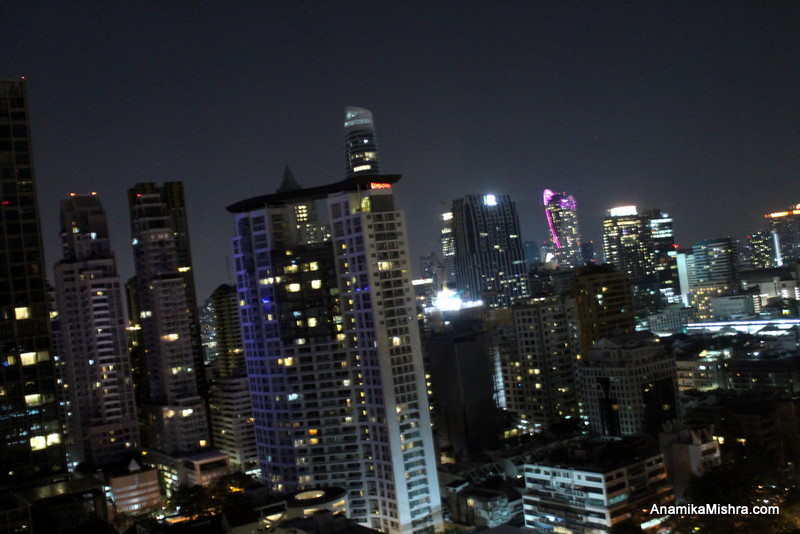
I reached at night and hence was able to experience the lights and skyline of the city. The climate was humid but not that hot. Airport is about 30 minutes drive from the main city. Traffic was similar to what we experience in our Delhi or Mumbai, though one thing that I really liked was no one was honking. I reached my first hotel Oriental Residence which is located in the heart of Bangkok just about walking distance from the famous Lumphini Park. This is a 5 Star hotel which has room that more like serviced apartments. Mine was on top floor which was perfect to enjoy the Bangkok Skyline.
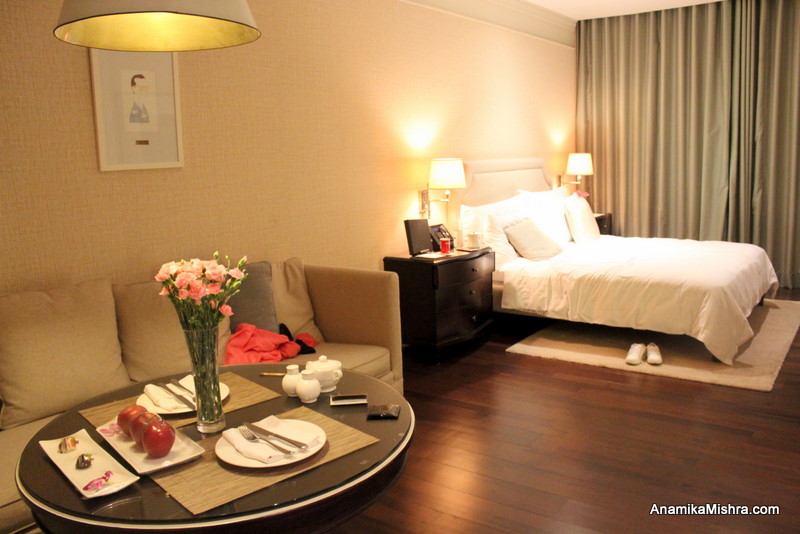
I stayed here for 2 nights and then moved to another hotel called Shama Sukhumvit.
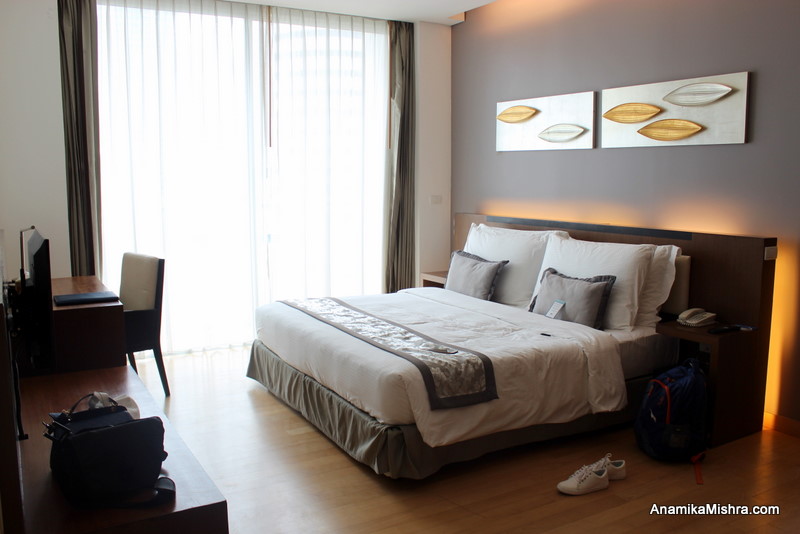
This one is the best option if you are looking for a long term stay in a good luxurious serviced apartment. I had a great experience in both the properties. My booking was for 1 BHK but they gave me a free upgrade for 2 BHK. The picture below is of master bedroom of my apartment. Hotel review and photos of both the hotels, coming up soon!
Places To See In Bangkok
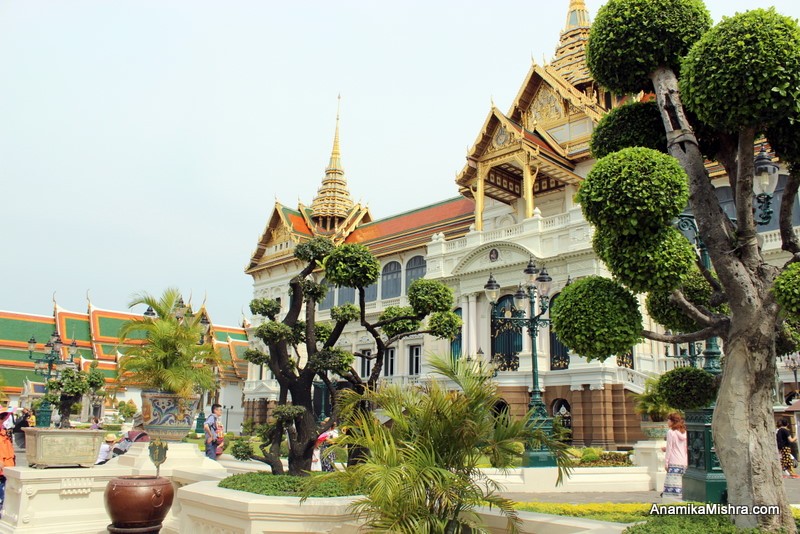
Here is the list of places I saw in Bangkok and these are the place that you shouldn’t miss!
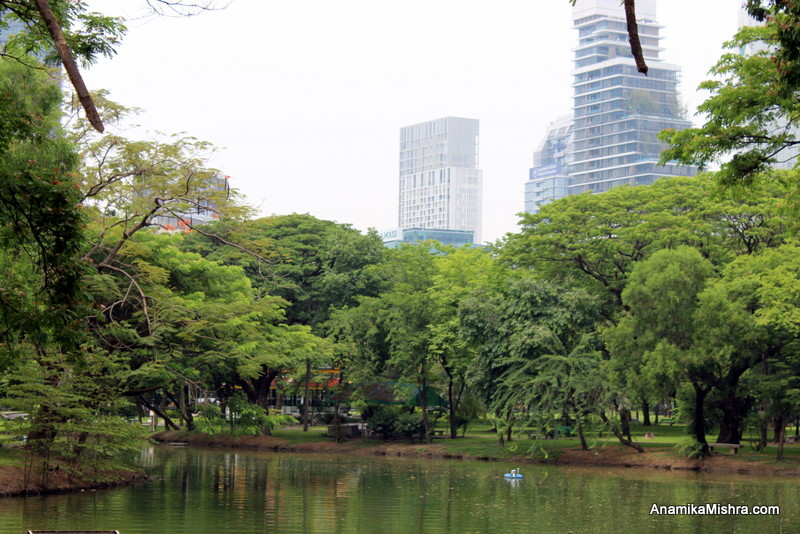
- Lumphini Park
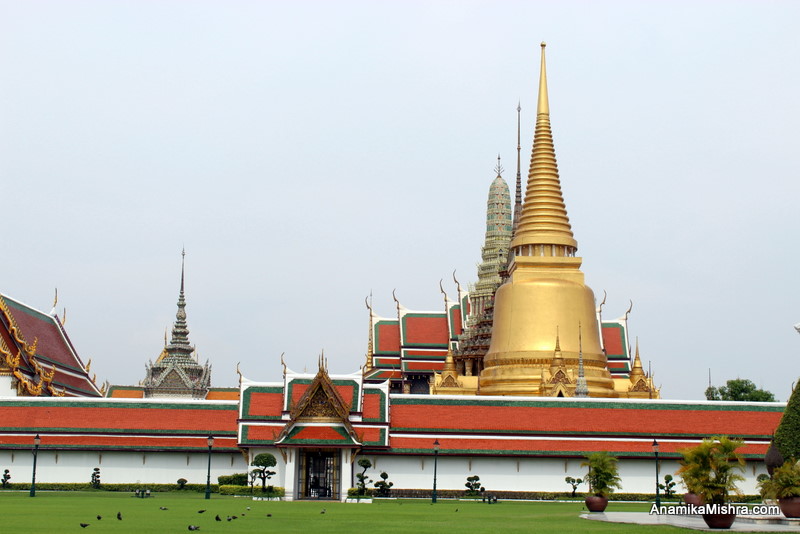
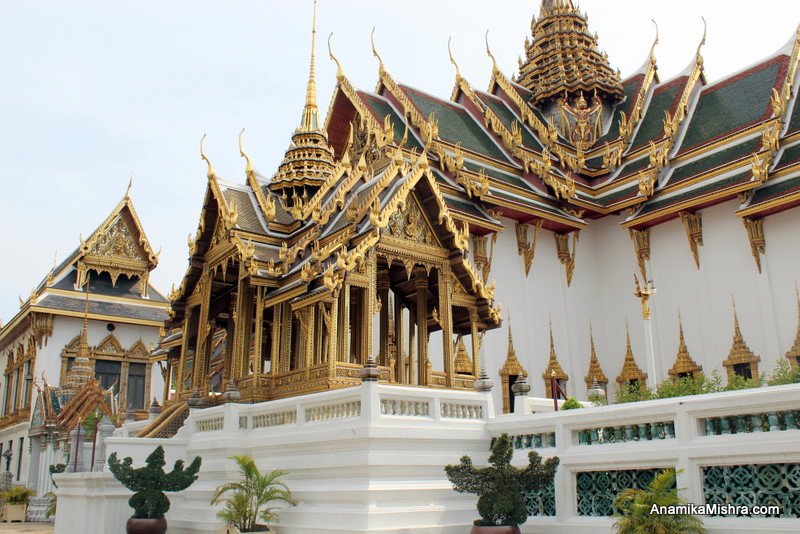
- The Grand Palace
- Wat Phra Kaew
- Wat Arun -The Temple Of Dawn
- Wat Bowonniwet Vihara
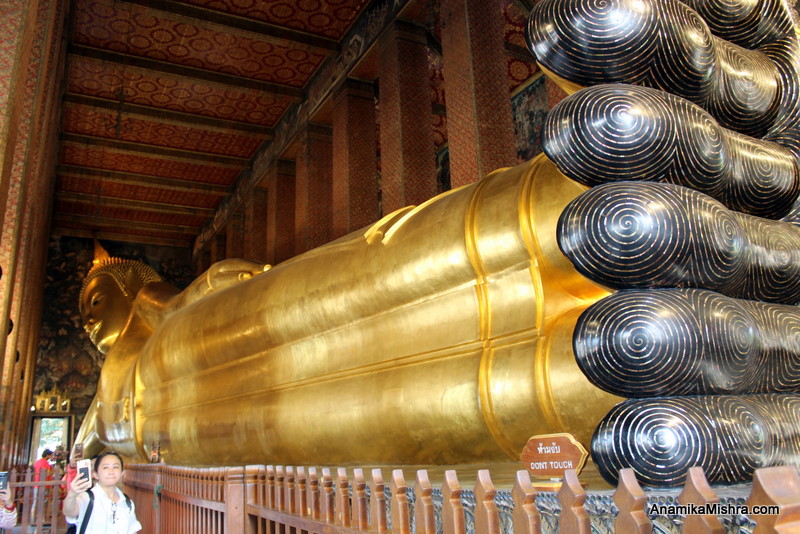
- Wat Pho -The Temple Of Reclining Buddha
- Chao Phraya River
- Jim Thompson House
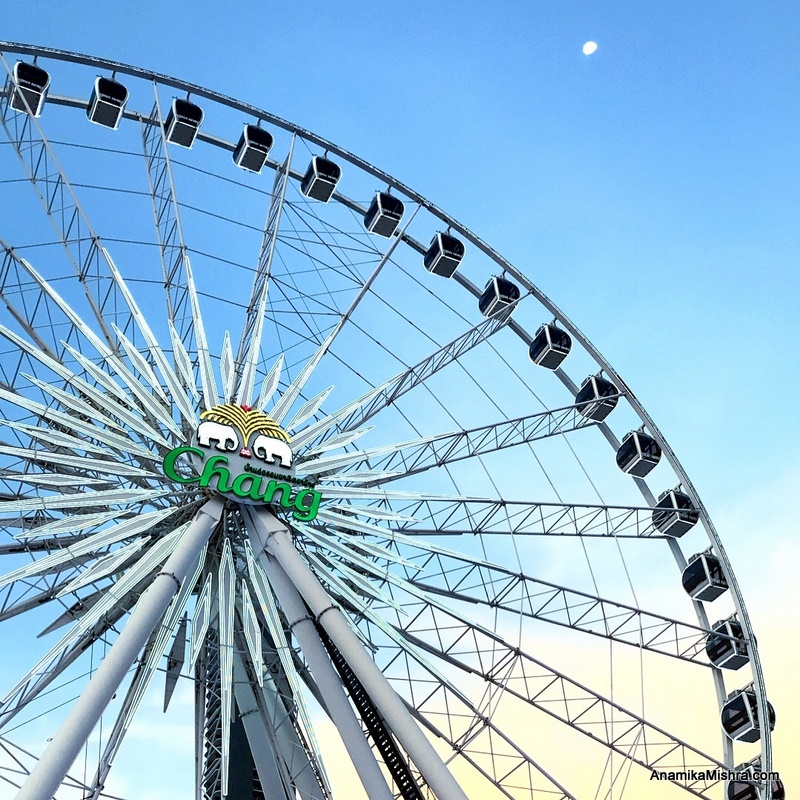
- Asiatique The Riverfront
- Pratunam Market
- Sukhumvit
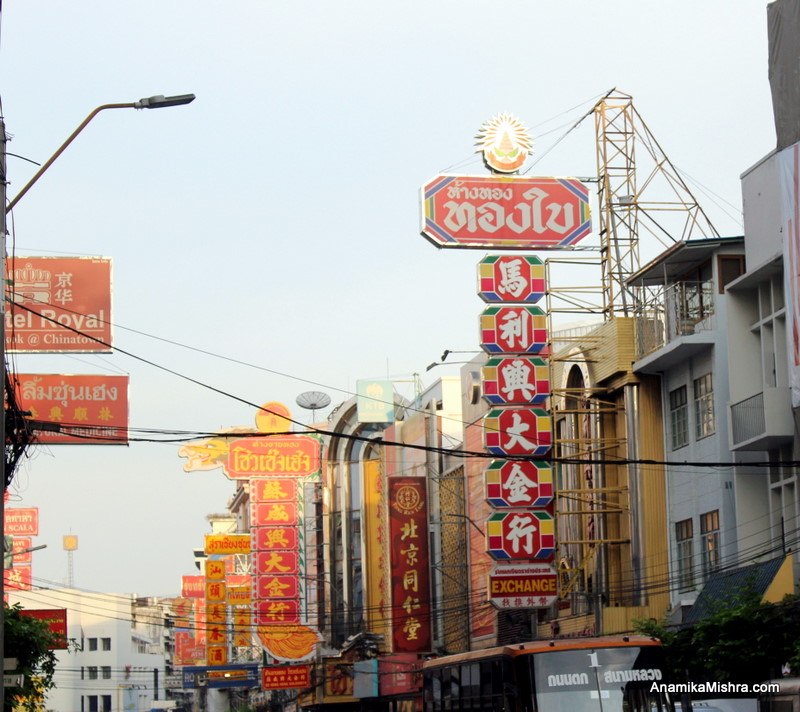
- China Town
- Siam District
- MBK Centre
- Terminal 21
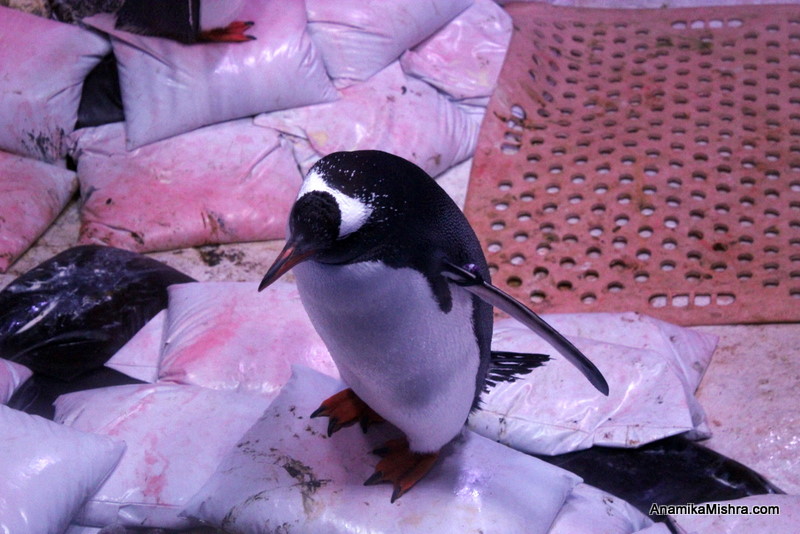
- Ocean World (Just in case you want to see penguins and sharks)
Visa Tips To Note
You’ll be given a form in the aircraft. Fill it and once you land, go straight to the visa-on-arrival line. There will be 2 counters, one is of 2000 BaHTs which is a regular one and the other one is express service which costs 2200 BaHTs.
I preferred regular one because both the queues looked similar, so there wasn’t any point of spending extra 200 Bahts.
Once you submit all the documents, you need to wait for another 10-15 minutes to get the visa. They will also hand you your departure card which you have to keep safely. This departure card is asked when you check-in to the hotel and during the immigration at the time of your departure.
Some Handy Bangkok Survival Tips -The Ultimate Bangkok Guide For First Timers
I read somewhere on the web that Uber works well in Bangkok but I don’t know for what reasons why Uber App didn’t work. Though it didn’t give me a hiccup because taxis are easy to grab. You stand on a road for a bit and you’ll get so many taxis stopping for you. This also goes for Tuk Tuks though you should be very good at bargaining when talking to a tuk tuk driver. They might charge you 200 Bahts for a 2 kms though 30-50 Bahts is good for 2-4 kms distance. If you are like metros then you can take skytrains (metros) too. It’s cheap and time saving.
You can also take a day pass of Hop On Hop Off boat or simple take a ticket to the boat stops where you wish to go. It’s really cheap. From Wat Pho to Asiatique river front, I just paid 20 Bahts for boat whereas Taxi would cost you around 300 Bahts. Also, you get to enjoy so many beautiful temples, churches, flower markets, skyscrappers etc. which makes the boat ride even more interesting.
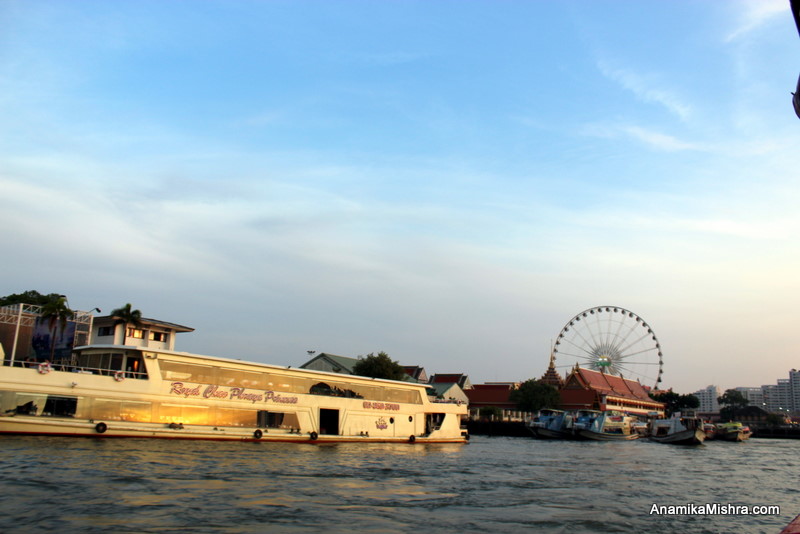
Always have a hard copy of a Map handy with you if you are travelling solo. Also, google maps helped me a lot in planning the places to see and navigating the drivers.
Proper outfits are important as places like Grand Palace & Wat Pho won’t allow you to enter in sleeveless or short outfits and slippers. bangkok guide – bangkok guide
If you are travelling in the month of April -May -June, do carry sunscreen, caps and shades. Also, carry your own water bottle because water coolers and ROs are available almost everywhere.
People say it’s hard to find vegetarian food in Bangkok. I say no, it’s not! I ate hearty veg food during my entire stay. You can use FoodPanda to order food to your place or visit any of the Indian restaurants. I’d suggest Mrs. Balbir’s and Dosa King.
Always ask if photography is allowed or not, because there are places inside the temples where photography is not allowed.
And most importantly, ENJOY! Enjoy the vibes, the places, the culture. Take time to enjoy each and every place and don’t just rush to cover maximum points.
I didn’t realize but this post has become really a long one. So, I’ll wind up for now. All I want to say is I am not really a fan of concrete jungles but I loved Bangkok as it’s a rare mix of modern and traditional. I loved the temples and learn their ancient art (which I will be sharing in my next book). I loved how they have preserved their culture and respect the rules. All in all, Bangkok was an amazing experience.
More detailed posts are coming up soon! I hope this post really helped. If you have confusion or questions regarding Bangkok, do let me now via comments section below. I’ll be happy to help!
https://www.youtube.com/watch?v=s6lQ2_B9iVQ
indian travel blogger – indian travel blog – travel blog in india – indian traveller – things to see in bangkok – things to do in bangkok – bangkok easy guide – bangkok itinary – bangkok blog – bangkok in 2 days – where to go in bangkok – bangkok guide
